
Great sound can turn a good project into something unforgettable. Whether you are recording a podcast, editing a YouTube video, producing music, or cleaning up an interview, audio quality matters. The good news? You do not need to be a professional sound engineer to improve your audio. With the right audio editing tools and a few simple tricks, you can make your sound clear, crisp, and enjoyable.
TLDR: Audio editing tools help you remove noise, balance volume, and improve clarity. Simple features like equalizers, compressors, and noise reduction can transform messy recordings into polished audio. You do not need expensive gear to sound professional. With basic knowledge and practice, anyone can enhance sound quality quickly and easily.
Why Sound Quality Is So Important
People forgive bad video. They rarely forgive bad audio.
If your audio is too quiet, too loud, or full of background noise, people will click away. Clear sound builds trust. It feels professional. It keeps your audience listening.
Here are a few common audio problems:
- Background noise like fans, traffic, or static
- Uneven volume where parts are too loud or too soft
- Echo or reverb that makes voices sound distant
- Distortion from clipping or overloaded microphones
- Muddy sound with no clarity
The right editing tools can fix all of these.
The Most Useful Audio Editing Tools
Let’s break down the core tools in simple terms. These are the features you will find in most audio editing software.
1. Noise Reduction
Noise reduction is like an eraser for background sounds.
It removes steady noises such as:
- Air conditioners
- Computer fans
- Humming
- Light static
The tool samples the unwanted sound. Then it removes similar frequencies from the recording.
Tip: Do not overuse it. Too much noise reduction can make voices sound robotic.

2. Equalizer (EQ)
An equalizer adjusts different sound frequencies.
Think of it as tone control. It helps shape the sound.
Here is a simple guide:
- Low frequencies = bass and rumble
- Mid frequencies = clarity of voices
- High frequencies = brightness and crispness
If audio sounds muddy, reduce low frequencies slightly.
If voices lack clarity, boost the mid range gently.
If it sounds dull, add a small high frequency boost.
Small adjustments make a big difference.
3. Compression
Compression controls volume differences.
It makes loud parts softer. It makes quiet parts louder. The result is balanced audio.
Imagine someone whispering and then suddenly shouting. Without compression, listeners rush to adjust their volume. With compression, the sound stays even.
Most compressors have simple controls:
- Threshold – When compression starts
- Ratio – How strong the compression is
- Attack – How fast compression begins
- Release – How fast it stops
For beginners, start with preset options like “Vocal” or “Podcast.”
4. Limiter
A limiter is like a safety net.
It prevents your audio from going above a set level. This stops clipping and distortion.
Set your limiter slightly below 0 dB. Many editors use -1 dB as a safe limit.
This small step keeps your audio clean and distortion free.
5. Normalization
Normalization adjusts the entire track to a target volume level.
It is quick and simple. But it does not balance uneven parts like compression does.
Use normalization at the end of your editing process.
6. De Esser
A de esser softens harsh “S” sounds.
Some microphones exaggerate these sounds. They can be sharp and unpleasant.
A de esser reduces only those specific high frequencies. The result is smoother speech.
Cleaning Up Voice Recordings Step by Step
Here is a simple workflow for better voice audio:
- Remove background noise.
- Cut out mistakes and long pauses.
- Apply EQ for clarity.
- Add light compression.
- Use a limiter to prevent clipping.
- Normalize to final volume.
This process can transform rough recordings into professional sounding audio.
Music Editing Tools
If you are editing music, you will need additional tools.
1. Reverb and Delay
Reverb adds space. It makes audio feel like it was recorded in a room or hall.
Delay creates echo effects. It repeats sound after a short time.
Use both carefully. Too much reverb makes audio muddy.
2. Multitrack Editing
This lets you edit multiple audio layers separately.
For example:
- Vocals on one track
- Music on another
- Sound effects on a third
You can adjust each track independently. This gives full control over the mix.
3. Automation
Automation changes settings over time.
You can:
- Lower music when someone speaks
- Increase volume during dramatic moments
- Fade sounds in and out smoothly
This adds a polished, professional touch.
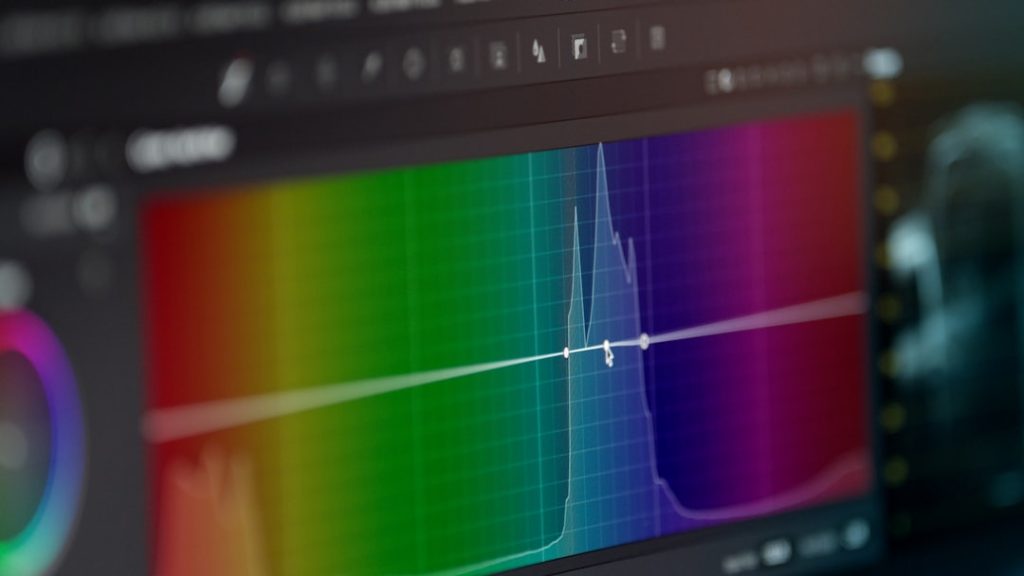
Visual Tools That Help
Audio editing is not just about listening. It is also about seeing sound.
Waveforms show how loud audio is over time. Spikes mean loud sounds. Flat lines mean silence.
Spectrograms show frequency content. These are useful for spotting hidden noise.
Learning to read these visuals will speed up your editing process.
Best Types of Audio Editing Software
There are many audio editing programs available. They usually fall into three categories:
1. Free Editors
Perfect for beginners. They include basic tools like:
- Cut and trim
- Noise reduction
- EQ
- Compression
Great for podcasts and simple projects.
2. Digital Audio Workstations (DAWs)
These are full featured production tools.
Best for:
- Music production
- Film audio
- Advanced mixing
They offer multitrack control and powerful plugins.
3. Online Audio Editors
These run in your browser.
They are:
- Fast
- Simple
- No installation needed
Perfect for quick edits and beginners who want convenience.
Common Mistakes to Avoid
Even good tools can cause problems if used incorrectly.
- Over processing – Too many effects can ruin natural sound.
- Too much compression – Makes audio lifeless.
- Too much EQ boost – Causes distortion.
- Ignoring good recording quality – Editing cannot fix everything.
Remember this simple rule: Start with small adjustments.
Tips for Better Results
Want even better sound? Try these simple tips:
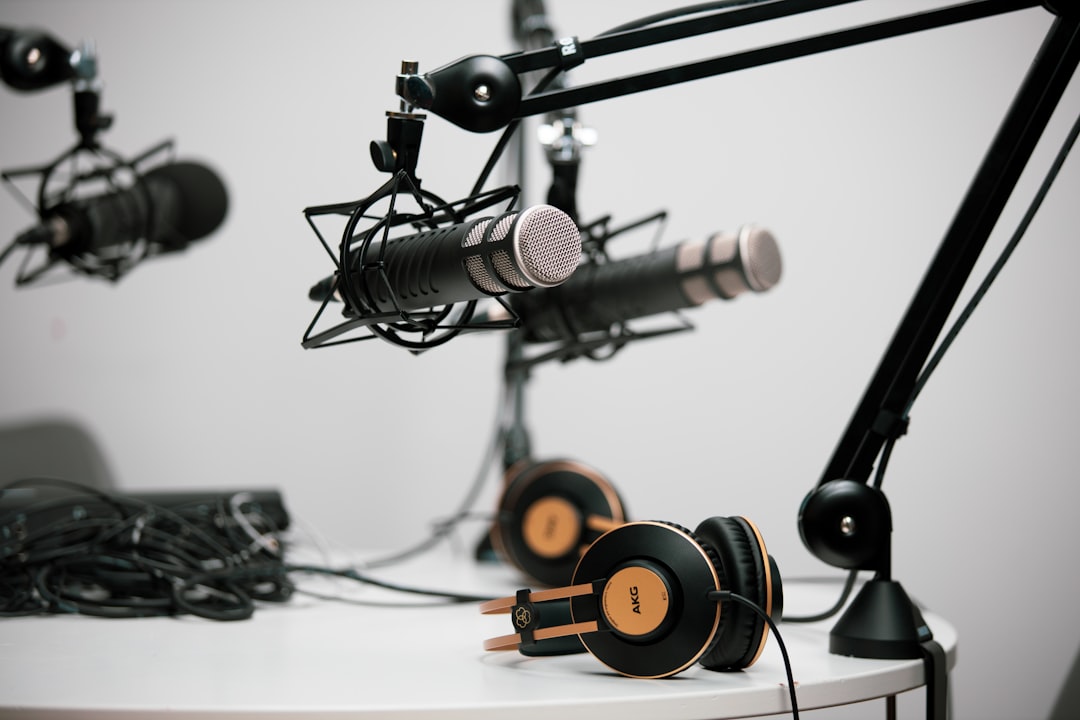
- Record in a quiet room.
- Use a decent microphone.
- Speak close to the mic, but not too close.
- Use pop filters to reduce harsh sounds.
- Wear headphones while editing.
Good source audio makes editing much easier.
How Long Does It Take to Learn?
The basics can be learned in a few hours.
Becoming confident may take a couple of weeks.
Mastering advanced mixing and sound design takes longer. But you do not need mastery to sound great.
Focus on learning:
- Noise reduction
- EQ basics
- Compression basics
- Proper export settings
That alone will put you ahead of many creators.
Exporting Your Final Audio
After editing, export your audio in the right format.
Common formats include:
- MP3 – Small size, good for podcasts
- WAV – High quality, larger file
- AAC – Efficient and widely used
Choose high bitrate settings for better clarity.
Before publishing, always listen to your final file completely. Small mistakes can slip through.
Final Thoughts
Audio editing is not magic. But it feels magical when done right.
With tools like noise reduction, EQ, compression, and limiting, you can dramatically improve sound quality. You do not need fancy equipment. You just need patience and practice.
Start simple. Make small changes. Trust your ears.
Clear audio builds trust. It keeps attention. It makes your content shine.
And once you hear the difference, you will never want to go back to raw, unedited sound again.