A reliable green screen setup starts with one plain rule: light the screen separately from the subject. If the background is uneven, wrinkled, glossy, or too close to the person on camera, chroma key editing becomes slow and messy.
TLDR: Use a matte green background, keep the subject at least 6 feet from it, and light the screen as evenly as possible. For a basic talking-head video, two soft lights on the green screen and one key light on the subject can deliver clean results in a spare room or small studio. A creator filming weekly training videos can cut editing time by 30% to 50% simply by fixing shadows and spill before recording. Clean setup beats software repair every time.
Choose the Right Green Screen Background
The background should be flat, matte, and evenly colored. Bright chroma green works because it is far from most skin tones, but the material matters as much as the shade.
Common green screen background options include:
- Fabric: Affordable and portable. It must be steamed or stretched because wrinkles create dark patches.
- Paper rolls: Smooth and reliable. Good for studios, but they can tear and take up space.
- Painted wall: Best for permanent setups. Use matte chroma key paint, not glossy paint.
- Collapsible screen: Fast to set up. Useful for remote work, webinars, and small rooms.
Avoid shiny material. It reflects light unevenly and can create hot spots. Also avoid dark green cloth that looks good to the eye but records poorly under weaker lights.
Size and Placement Matter
Your background must cover the full frame, including hand movement and headroom. If the subject will stand, gesture, or move sideways, make the screen wider than you think you need. Expect to waste time on rotoscoping if an elbow keeps leaving the green area.
Place the subject 6 to 10 feet in front of the screen when possible. This distance reduces green spill, which is the unwanted green reflection that appears on skin, hair, glasses, and clothing. In a small room, even 4 feet is better than standing directly against the screen.
Keep the screen behind the subject smooth and vertical. If it curves onto the floor, make the curve gentle. Sharp corners catch shadows and become hard to key.
Lighting the Green Screen
Good lighting is the main difference between a clean key and a frustrating edit. The green screen should have its own lights. The subject should have separate lights. Mixing these jobs causes shadows, uneven color, and spill.
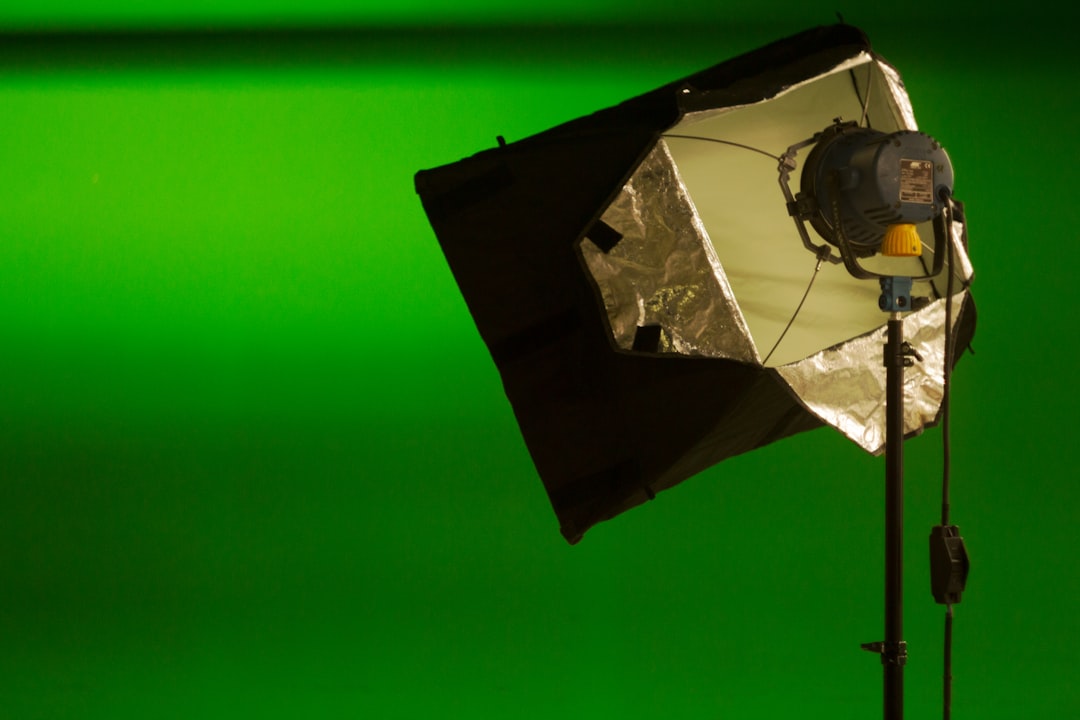
For the screen, use two soft lights placed left and right at roughly 45 degrees. Aim them across the surface, not straight into the center. The goal is even brightness from edge to edge.
Check the screen with your camera or editing scopes. A good target is a screen that varies by no more than about 10% in brightness across the visible area. You do not need laboratory accuracy, but you do need consistency.
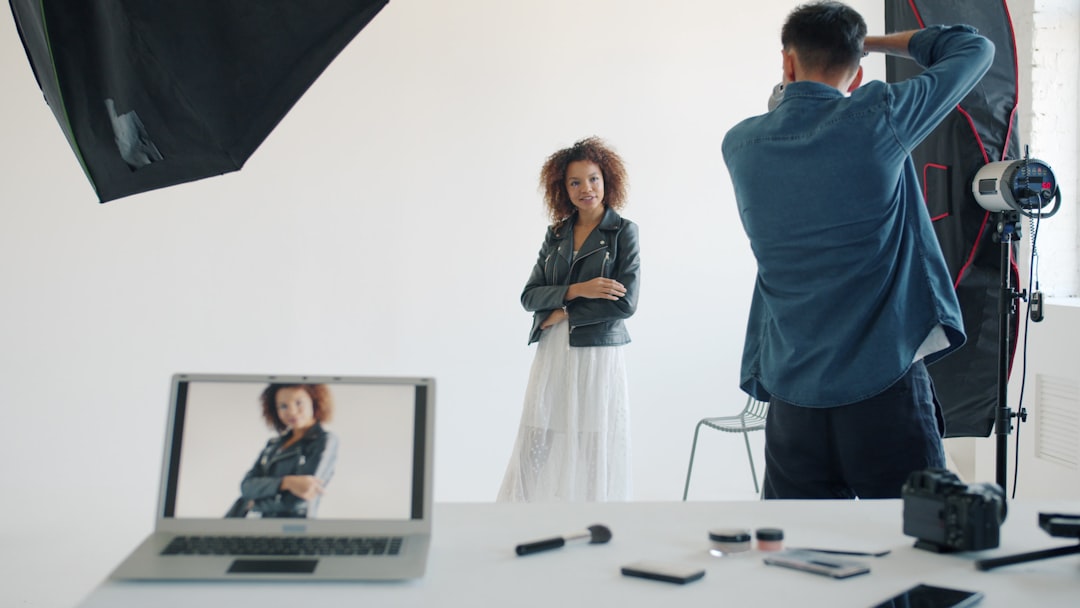
For the subject, use a standard three-point lighting setup:
- Key light: The main light, placed slightly to one side and above eye level.
- Fill light: A softer light on the opposite side to reduce harsh shadows.
- Back light: A light behind the subject to separate hair and shoulders from the background.
The back light is especially useful with green screen work. It creates a clean edge around the subject and helps reduce green spill. Keep it subtle. If it is too strong, it creates a glowing outline that looks fake.
Control Green Spill
Green spill is one of the most common problems in chroma key footage. It shows up as a green rim around hair, cheeks, glasses, or clothes. It often happens when the subject is too close to the screen or when the screen lights are too bright.
To reduce spill:
- Move the subject farther from the screen.
- Dim the screen lights if the green surface is brighter than needed.
- Use a back light or hair light to separate the subject.
- Avoid white or reflective clothing.
- Keep shiny jewelry, glossy chairs, and glass props out of the frame.
Honestly, it feels like green spill always finds the one reflective object you forgot to remove. Check the frame before recording. A quick test saves a lot of cleanup.
Best Camera Settings for Green Screen
Your camera should capture sharp edges and clean color. Compression, motion blur, and noise all make chroma key editing harder.
Use these settings as a solid starting point:
- Resolution: Record in 4K if possible, even if the final video is 1080p. Extra detail helps with edge quality.
- Frame rate: Use 24 fps for a film look, 30 fps for standard video, or 60 fps for movement.
- Shutter speed: Set it near double the frame rate. Use 1/50 for 24 fps, 1/60 for 30 fps, or 1/125 for 60 fps.
- ISO: Keep it low. Noise creates speckles in the green channel.
- Aperture: Use around f/4 to f/5.6 for sharp subject edges.
- White balance: Set it manually. Do not rely on auto white balance.
Disable auto exposure and auto focus if the subject will move. Auto settings can shift during recording, which changes the color of the screen and ruins key consistency.
If your camera supports better color sampling, use it. Footage recorded in 10-bit 4:2:2 keys better than 8-bit 4:2:0. This is very noticeable around hair, fingers, and transparent objects.
Wardrobe and Props
Do not wear green unless part of the body is meant to disappear. Also be careful with yellow-green, teal, reflective black, and thin striped patterns. Fine patterns can create moiré, especially on lower-cost cameras.
Choose clothing with clear contrast from the background. Solid blues, grays, dark reds, and neutral tones often work well. Hair can be harder to key than clothing, so flyaway hair may need extra back light and careful editing.
Chroma Key Editing Workflow
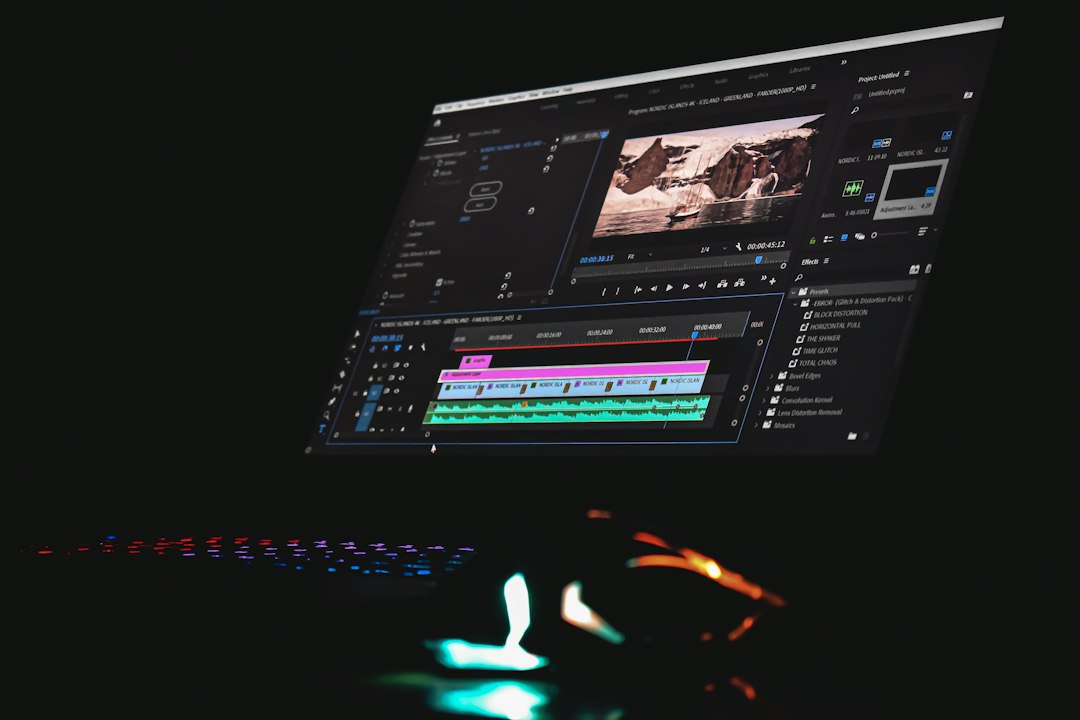
Most editing software includes a chroma key tool. The name may vary, but the process is similar. You select the green color, adjust tolerance, clean up edges, and place a new background behind the subject.
A practical workflow looks like this:
- Import the footage and place it above the replacement background.
- Apply the chroma key effect to the green screen clip.
- Pick the green color from an average area, not from a shadow or bright hot spot.
- Adjust tolerance or similarity until most of the green disappears.
- Refine edges using softness, choke, matte cleanup, and spill suppression.
- Check hair, hands, glasses, and motion at full resolution.
- Color match the subject to the new background so the shot feels believable.
The catch is that software can remove green, but it cannot fully invent clean detail where the camera failed to record it. Heavy compression, blur, and uneven lighting force ugly compromises. You may get jagged hair, transparent shoulders, or flickering edges.
Common Mistakes to Avoid
- Standing too close to the screen: This creates shadows and green spill.
- Using one light for everything: The screen and subject need separate lighting.
- Leaving wrinkles in fabric: Wrinkles create darker green areas that key poorly.
- Overexposing the screen: A blown-out green channel loses color detail.
- Recording noisy footage: High ISO makes the matte unstable.
- Ignoring the final background: The subject lighting should match the scene being added.
Final Setup Checklist
Before recording, run through a short checklist. It should take less than five minutes.
- The green screen is smooth and fills the frame.
- The subject is at least 6 feet from the background if space allows.
- The screen is lit evenly from both sides.
- The subject has separate key, fill, and back lighting.
- Camera exposure, focus, and white balance are locked.
- ISO is low and shutter speed matches the frame rate.
- No green clothing or reflective props are visible.
- A short test clip has been keyed before the full shoot starts.
A professional green screen setup is not about expensive gear alone. It is about control. Control the background, control the light, control the camera, and the edit becomes faster, cleaner, and far more believable.