If you delete a WordPress blog post, create a 301 redirect before visitors and search engines hit a dead end. A 301 redirect tells browsers and search engines that the old URL has moved for good, and Google recommends server-side redirects for permanent URL changes [source: Google Search Central]. For WordPress users, the 301 Redirects – Easy Redirect Manager plugin is a simple way to send that old post URL to a better page, without editing server files.
TLDR: Deleted posts can cause 404 errors, lost visitors, and wasted backlinks. A 301 redirect sends people from the deleted URL to a useful replacement, such as a newer guide or a related product page. For example, if a deleted post had 1,200 monthly visits and 18 backlinks, redirecting it to a close match may keep much of that traffic instead of dropping users onto an error page. Use the 301 Redirects plugin to set it up in minutes.
Why deleting a post can hurt more than you think
Deleting a weak or outdated post feels harmless. Sometimes it is the right move. Old coupon posts, expired announcements, thin content, and duplicate articles can drag a site down.
But the problem starts after deletion. The old URL may still be sitting in:
- Google search results
- Newsletter archives
- Social media posts
- Other websites’ links
- Browser bookmarks
- Internal links you forgot to update
When someone clicks that link and lands on a 404 not found page, the visit is often gone. No second chance. Honestly, it feels like such a small mistake until you see it in analytics.
What a 301 redirect actually does
A 301 redirect is a permanent forwarding rule. It says, “This page has moved. Send people here instead.”
So this old URL:
example.com/blog/old-seo-tips
can send visitors to:
example.com/blog/updated-seo-guide
That is much better than dumping people on a blank error page. It also helps search engines understand the change. While no redirect is magic, a clean 301 is the standard fix when a page is gone and a useful replacement exists.
Why use the 301 Redirects plugin?
You can create redirects in server files. You can also do it through hosting tools. But for many WordPress site owners, that is annoying and easy to mess up. One bad character in an .htaccess file can break a site. Nobody needs that stress over a deleted blog post.
The plugin at 301 Redirects – Easy Redirect Manager keeps the job inside WordPress. It gives you a clean screen where you enter the old path and the new destination.
You can also check WP 301 Redirects if you want more redirect control and extra features for handling broken links.
When should you redirect a deleted post?
Redirect the post when there is a strong match. That part matters. Sending every deleted article to the homepage is lazy, and it can frustrate users.
Good redirect choices include:
- Old tutorial to updated tutorial: Best option when you rewrote the topic.
- Old review to newer review: Useful for outdated product content.
- Expired event post to events page: Good if the visitor still wants related info.
- Thin post to a full guide: Great after a content cleanup.
- Deleted service article to service page: Works when the intent is the same.
Do not redirect a recipe post to a pricing page. Do not send a WordPress error guide to a random sales page. People notice. Search engines may notice too.
How to set up a 301 redirect in WordPress
The basic process is simple:
- Install and activate 301 Redirects – Easy Redirect Manager.
- Open the plugin settings in your WordPress dashboard.
- Add the old deleted post URL or path.
- Add the new target URL.
- Choose 301 as the redirect type.
- Save the rule.
- Test the old URL in a private browser window.
Expect to waste time if you skip that last step. Caches can be stubborn. A redirect may look saved, but the browser still shows an old result for a bit. Testing saves you from guessing.
A quick cleanup workflow
Before deleting any blog post, run through this short checklist:
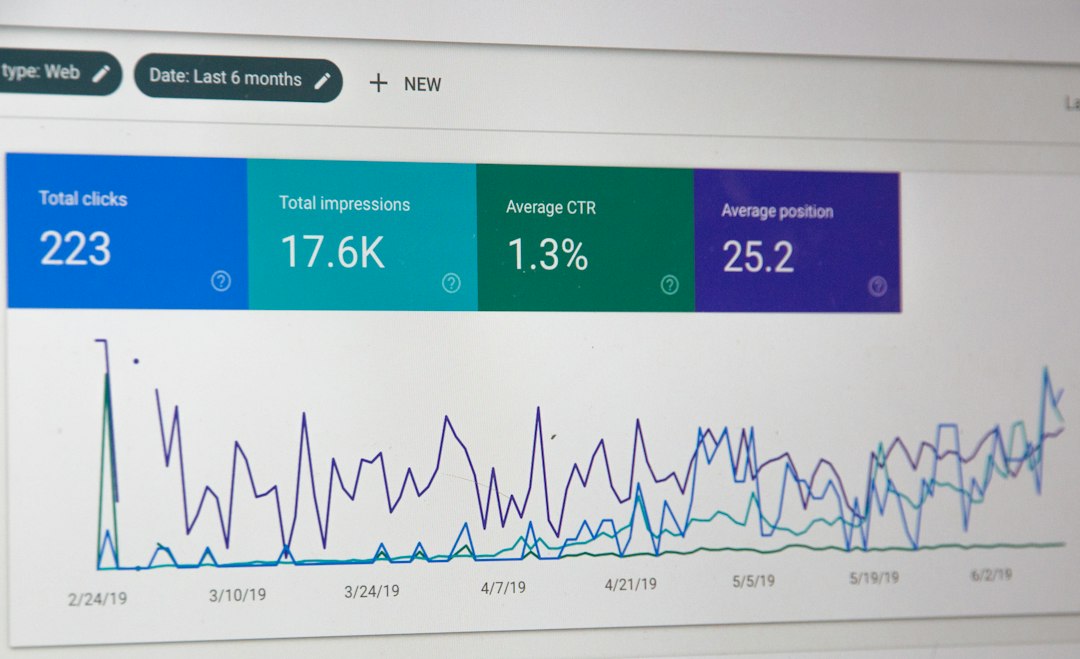
- Check traffic: Does the post still get visits?
- Check backlinks: Are other sites linking to it?
- Check conversions: Did it bring signups, calls, or sales?
- Find a replacement: Pick the closest live page.
- Add the redirect: Do it before or right after deletion.
Common mistakes to avoid
Redirect chains are a big one. That happens when URL A redirects to URL B, then URL B redirects to URL C. Keep it direct when you can.
Redirect loops are worse. That is when two URLs keep sending visitors back and forth. The page never loads. It drives me crazy that one tiny rule can cause such a silly mess, but it happens.
Also, avoid redirecting deleted posts to unrelated pages. A 301 should help users, not trick them.
The smart way to remove old content
Deleting a blog post is not the problem. Deleting it without a plan is the problem. A good 301 redirect protects visitors, preserves useful link paths, and keeps your site feeling tidy.
If the old post had no traffic, no links, and no value, a 404 may be fine. But if people still find that URL, give them somewhere better to go. With the 301 Redirects plugin, the fix is quick, clean, and far less painful than losing hard-earned clicks.