
CapCut for PC gives video editors a practical way to layer visuals, combine clips, and create polished effects without needing advanced editing software. One of the most useful techniques is creating a splice overlay, where an overlay clip is placed above the main video, trimmed or split into sections, and blended into the scene for a smooth visual result.
TLDR: A splice overlay in CapCut PC is made by placing one video or image above another on the timeline, then cutting, trimming, positioning, and blending it. The editor imports media, adds the main clip first, places the overlay on a higher track, uses the Split tool to splice it, and adjusts opacity, blend mode, and timing. This technique is useful for reaction videos, cinematic transitions, texture effects, picture in picture layouts, and social media edits.
What a Splice Overlay Means in CapCut PC
In CapCut PC, an overlay is any visual element placed above the main video track. It can be another video, an image, a logo, a texture, a screen recording, a green screen clip, or even a transparent animation. When the overlay is spliced, it is cut into smaller sections so each part can be timed, moved, blended, or adjusted separately.
The term can also refer to combining an overlay with the main footage using blend modes, such as Overlay, Screen, Multiply, or Lighten. For example, an editor may place a light leak video over a main clip and use a blend mode to make it appear naturally integrated. In most workflows, a splice overlay involves both actions: placing media above the main clip and cutting it to fit the edit.
This method is popular because it allows a creator to add visual interest without replacing the original footage. A simple travel clip can gain cinematic light leaks, a tutorial can include a picture in picture screen, and a vlog can use cutaway overlays to make the pacing more dynamic.
Step 1: Open CapCut PC and Start a New Project
The first step is to open CapCut Desktop on the computer. From the home screen, the editor selects New project. This opens the main editing workspace, where the media panel, preview window, timeline, and editing controls are displayed.
Before importing files, it helps to confirm the intended project format. For TikTok, Instagram Reels, or YouTube Shorts, a vertical format such as 9:16 is often used. For YouTube, websites, or standard videos, 16:9 is usually better. The project ratio can be changed from the preview or canvas settings depending on the CapCut version.
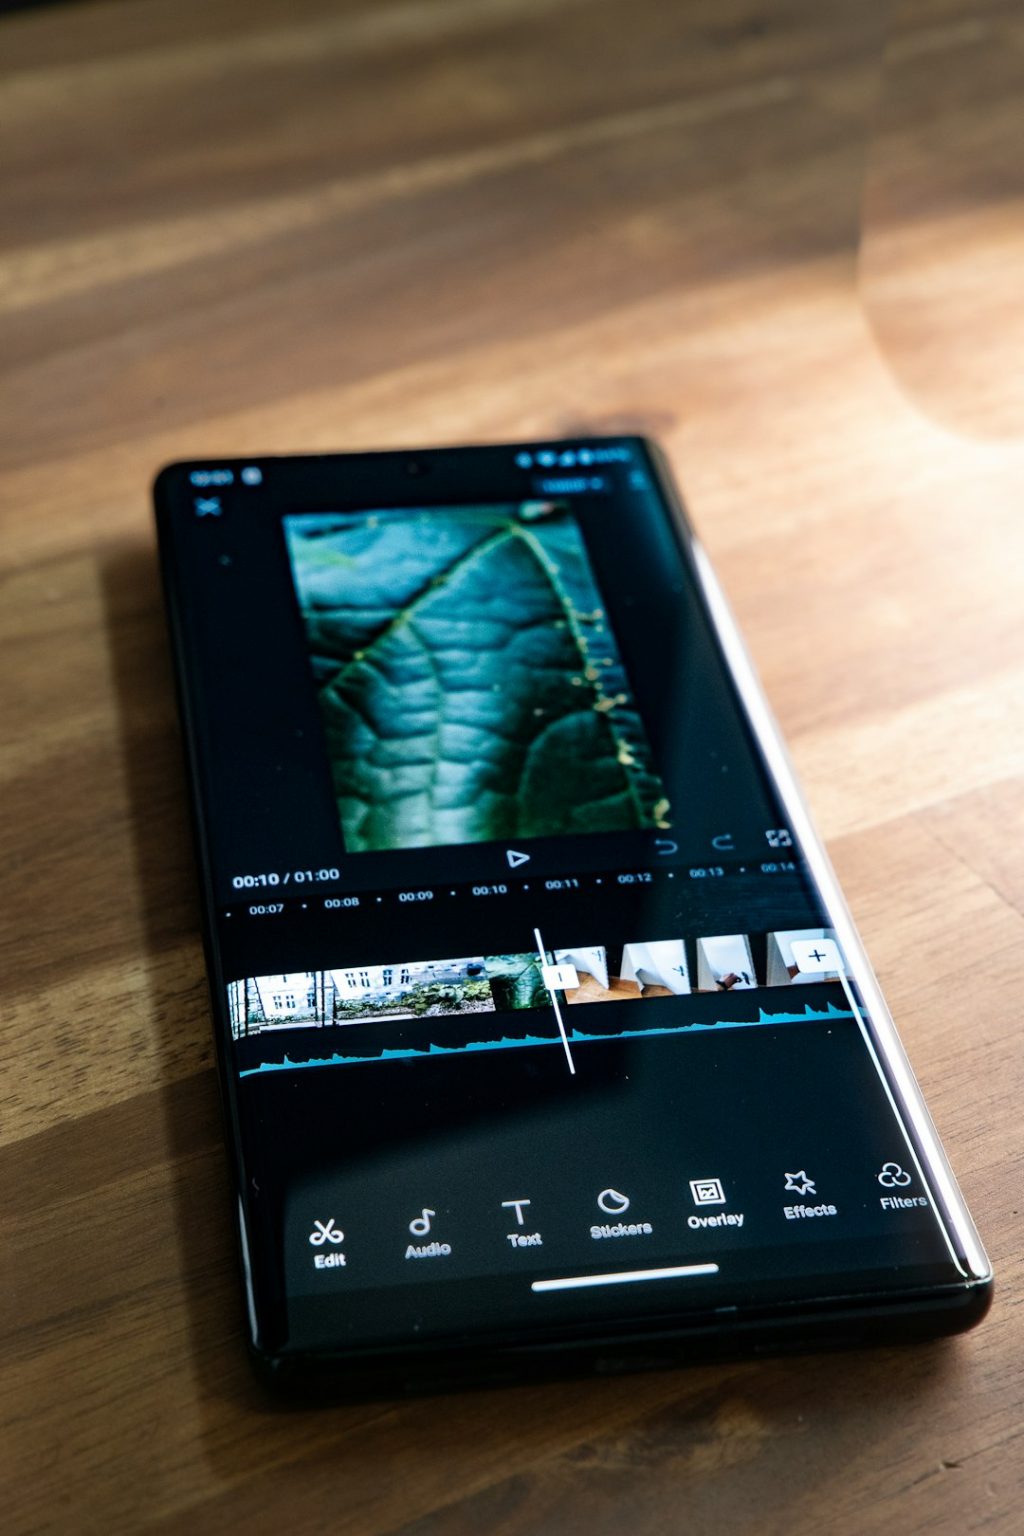
Image not found in postmetaStep 2: Import the Main Video and Overlay Media
After the project is created, the editor imports all required files. This is done by clicking Import in the media panel and selecting the main video plus the overlay files from the computer. Overlay media may include a second video, an image, a transparent PNG, a logo, a texture clip, captions, or motion graphics.
Once imported, the main video should be dragged to the first video track on the timeline. This becomes the base layer. The overlay file is then dragged to the timeline and placed above the main clip on a higher track. In timeline-based editing, anything on an upper track appears on top of the content below it.
If the overlay does not appear, the editor should check whether it is placed directly above the main clip and whether its duration overlaps with the section where it should be visible.
Step 3: Position the Overlay on the Timeline
After the overlay is added, its timing should be adjusted. The editor can click and drag the overlay clip left or right on the timeline until it begins at the correct moment. If the overlay should appear only during one part of the video, it does not need to cover the entire main clip.
The overlay can also be shortened by dragging its left or right edge. Dragging the edge inward trims the clip without permanently deleting the original media from the project. This is useful for quick timing adjustments before making more precise splices.
For example, if a creator wants a reaction clip to appear after three seconds, the overlay clip should begin at that point. If it should disappear after five seconds, the end of the overlay should be trimmed to match that moment.
Step 4: Resize, Crop, and Move the Overlay
With the overlay selected, the editor can use the preview window to resize and reposition it. The corner handles allow the overlay to be scaled up or down, while dragging the overlay in the preview changes its position. This is especially important for picture in picture edits, webcam overlays, reaction videos, and branded layouts.
CapCut PC also provides editing controls for scale, position, rotation, and sometimes crop or mask settings. These controls allow more exact placement. For instance, the editor may place a webcam overlay in the lower-right corner and reduce its size so it does not block important visual details in the main video.
If the overlay has parts that should be hidden, the editor may use Crop or Mask. A mask can create shapes such as rectangles, circles, or split-screen sections, depending on the available tools in the desktop version.
Step 5: Splice the Overlay with the Split Tool
The main part of the process is splicing the overlay. To do this, the editor places the playhead at the point where the overlay should be cut. The overlay clip must be selected, then the editor clicks the Split button or uses the keyboard shortcut, usually Ctrl + B on Windows.
This cut divides the overlay into separate pieces. Each piece can then be moved, deleted, trimmed, or edited independently. The editor can repeat this process at every point where the overlay needs to change.
- To remove a section: the editor splits before and after the unwanted part, selects that section, and deletes it.
- To change timing: the editor moves a spliced section forward or backward on the timeline.
- To add different effects: each spliced overlay segment can receive separate filters, animations, opacity settings, or blend modes.
- To match music beats: the editor splits the overlay at beat points and adjusts each segment to create a rhythmic edit.

Step 6: Adjust Opacity for a Natural Look
Opacity controls how transparent the overlay is. If an overlay looks too strong or blocks the main video, reducing opacity can make it feel more natural. In CapCut PC, opacity is usually found in the right-side editing panel when the overlay clip is selected.
For subtle effects such as grain, light leaks, smoke, reflections, or texture overlays, opacity may be lowered to around 20% to 60%. For picture in picture clips, the overlay may remain at 100% because it is meant to be clearly visible. Logos and watermarks may be set lower so they do not distract from the content.
The best opacity depends on the purpose of the overlay. A cinematic glow may require a soft setting, while a tutorial screen recording may need full clarity.
Step 7: Use Blend Modes for Overlay Effects
Blend modes are one of the most important tools for making an overlay appear integrated with the main footage. With the overlay selected, the editor looks for the Blend option in the video settings panel. Different CapCut versions may label this area slightly differently, but it is generally available under video adjustment or basic settings.
The Overlay blend mode can increase contrast and combine bright and dark areas with the footage below. Screen is often useful for light leaks, sparks, fire, smoke, and glow effects because it hides darker areas and keeps brighter parts visible. Multiply can be useful for shadows, paper textures, and darker visual layers. Lighten can help blend bright elements over a scene.
After choosing a blend mode, the editor should adjust opacity again. Blend mode and opacity work together, so a setting that looks too intense at 100% may look excellent at 35%.
Step 8: Add Transitions or Animations to the Overlay
A splice overlay can feel more professional when it enters and exits smoothly. CapCut PC offers animations that can be applied to selected clips. The editor can choose an In animation for the beginning of the overlay, an Out animation for the end, or a Combo animation for continuous movement.
For a clean edit, simple animations often work best. A fade in, fade out, slide, zoom, or wipe can make the overlay appear intentional instead of abrupt. If the overlay is being used as a quick flash or beat effect, a sharp cut may be better than a soft transition.
When editing multiple spliced overlay segments, each segment can have its own animation. This gives the editor more control over pacing and emphasis.
Step 9: Fine Tune Audio if the Overlay Has Sound
Some overlay clips include audio. For example, a reaction video, screen recording, or secondary camera angle may contain sound that needs to be managed. If the overlay audio is not needed, the editor can mute it, detach it, or reduce the volume.
If the overlay audio should be included, it should be balanced with the main audio. Dialogue should remain clear, background music should not overpower speech, and sound effects should match the visual timing. CapCut PC allows volume adjustments and fade controls that help smooth the audio transition between spliced overlay sections.
Step 10: Preview the Splice Overlay Edit
Before exporting, the editor should play the video from the beginning and watch the overlay carefully. This preview helps catch timing issues, awkward cuts, misplaced overlays, or blend settings that look too strong. It is also useful to watch the edit in full screen because small alignment problems may be easier to notice.
The editor should check whether the overlay supports the story or distracts from it. A good splice overlay should feel intentional. If the viewer’s attention is pulled away from the main subject, the overlay may need to be smaller, shorter, softer, or less frequent.
Step 11: Export the Finished Video
Once the splice overlay looks correct, the editor clicks Export. CapCut PC allows export settings such as resolution, frame rate, bit rate, format, and file name. For most online videos, 1080p is a reliable choice. For higher quality projects, 4K may be used if the original footage supports it.
The frame rate should usually match the original project, such as 30 fps or 60 fps. Higher bit rates can improve quality but increase file size. After selecting the settings, the editor exports the video and reviews the final file before uploading it anywhere.
Common Uses for Splice Overlays
Splice overlays are flexible and can be used in many styles of content. A gaming creator may place facecam footage over gameplay. A beauty creator may overlay product close-ups during a tutorial. A business editor may add a logo, lower third, or branded background layer. A music video editor may splice texture overlays on beat to create energy.
They are also useful for storytelling. Instead of cutting away completely from the main footage, the editor can display secondary visuals on top of it. This keeps the main scene visible while adding extra context.
Tips for Better Results
- Keep overlays purposeful: every overlay should add information, style, emotion, or clarity.
- Match colors: color adjustments can help the overlay fit the main footage.
- Avoid clutter: too many overlays can make a video difficult to follow.
- Use keyframes: keyframes can animate position, scale, and opacity over time.
- Organize tracks: keeping overlays on separate tracks makes complex edits easier to manage.
FAQ
What is a splice overlay in CapCut PC?
A splice overlay is an overlay clip placed above the main video and cut into sections so each section can be edited separately. It may also involve using blend modes to merge the overlay visually with the footage below.
How does an editor add an overlay in CapCut PC?
The editor imports the overlay media, drags the main clip to the timeline, then places the overlay clip on a higher video track above the main clip.
How is an overlay spliced in CapCut PC?
The editor selects the overlay clip, moves the playhead to the desired cut point, and uses the Split tool or the shortcut Ctrl + B. This divides the overlay into separate editable segments.
Which blend mode is best for overlays?
It depends on the effect. Screen works well for light leaks and glow effects, Multiply works well for shadows and textures, and Overlay can create a stronger contrast blend.
Can an image be used as a splice overlay?
Yes. Images, PNG files, logos, stickers, and graphics can all be used as overlays. They can be trimmed, split, resized, animated, and adjusted like video overlays.
Why is the overlay not visible?
The overlay may be on the wrong timeline track, positioned outside the visible canvas, set to very low opacity, or not overlapping the main clip in time. The editor should check layer order, timing, scale, and opacity.
Can a splice overlay be animated?
Yes. CapCut PC allows overlays to be animated with preset animations or keyframes. The editor can animate movement, scale, rotation, and opacity for more dynamic results.
What export settings should be used after adding overlays?
For most videos, 1080p, 30 fps, and a standard MP4 format work well. For high-resolution projects, the editor may choose 4K and a higher bit rate if the source footage supports it.